For my birthday last year, my sister got me a cheese making kit. I
love it, but I was always a little afraid of it. I had read about cheese making disasters, and I HATE throwing food away, so it caused me to hesitate in trying my hand at it. However, considering I have the time now, which I know will be limited later, I thought better now than ever. In addition to reading through the instruction manual that came with my kit, I did some online research. Of course, I found a ton of stuff, a lot of which was contradicting and confusing. After some research and several youtube videos, I found that there are a lot of things that are called "cheese" and are all totally different. The really easy stuff is barely cheese and more like cottage cheese; NOT the cheese that we all love.
After my research I decided to follow
this website, because it didn't claim that cheese-making was "super easy" and it also explained things pretty well. It gives a list of 7 cheeses to try to make from easiest to hardest and overall, looks pretty legit. The first 2 "cheeses" it says to make are yogurt and labneh, but I decided to go straight to the rennet cheeses, since the other two aren't cheesy enough for me.
Ok, so here goes. First, the milk. I got a gallon of Twin Brook Creamery 2% milk (you know, the stuff that comes in those cool glass bottles?), some buttermilk, 1/8 tsp of CaCl, and dissolved 1/4 tablet of rennet in 1/4 cup of water. I put the milk in a stainless steel pot and
slowly heated it to 65 degrees. Mind you, this doesn't take long since that's just room temp. Getting it as close to the temp noted is key. Get yourself a good thermometer. Next I added the CaCl, then buttermilk, then rennet, stirring well each time in between the additions. I took it off the heat, and let it sit overnight.
 |
| Just a pot of room temp milk. |
Now it's really important to let the pot sit overnight
undisturbed to let the magic happen. I have a hard time with this sometimes and get too impatient with my food. But this time, I was sleeping so it was ok. Now, for anyone who has put any thought into making cheese and has done any research has definitely heard of the elusive "clean break." This is when the solids have successfully curded. Apparently this is hard to achieve and can only be done when all of the conditions are right. Considering this is my first cheese making attempt, I was prepared for this to give me trouble. BUT, when I woke up this morning and checked...
Ta daaaaaaa! Perfection. I did what I was supposed to do to check by sticking my finger in it at a 45 degree angle and pulled up. The curds cracked like they are supposed to and the whey that filled in was clear. Awesome. This meant I could move on and cut the curds.
This is done by inserting a knife at a 45 degree angle and cutting all the way down to the bottom, making slices about an inch apart. Turn the pot 90 degrees and do the same 4 times to get all sides. Hopefully the picture helps to explain what I'm talking about.
Now, take a piece of cheese cloth big enough to be able to fold it a couple times. I used a piece that was big enough to fold twice in order to have a stack of 4 layers. Lay the cloth in a colander over a bowl and ladle the curds into the cloth. There were a lot more curds than I though there would be, so I had to do a lot of hand squeezing in order to get it all into my cheese cloth.
Next, rig up some device that you'll be able to hang your cheese on. Make sure there is a bowl underneath to catch the whey. (Save the whey, there are a lot of things you can do with it. It's apparently full of protein.) This should hang for 12 hours. (Or less if you're impatient like me and keep squeezing it every time you walk by.) If you are going to wait, probably a good idea to keep it in the fridge for the 12 hours.
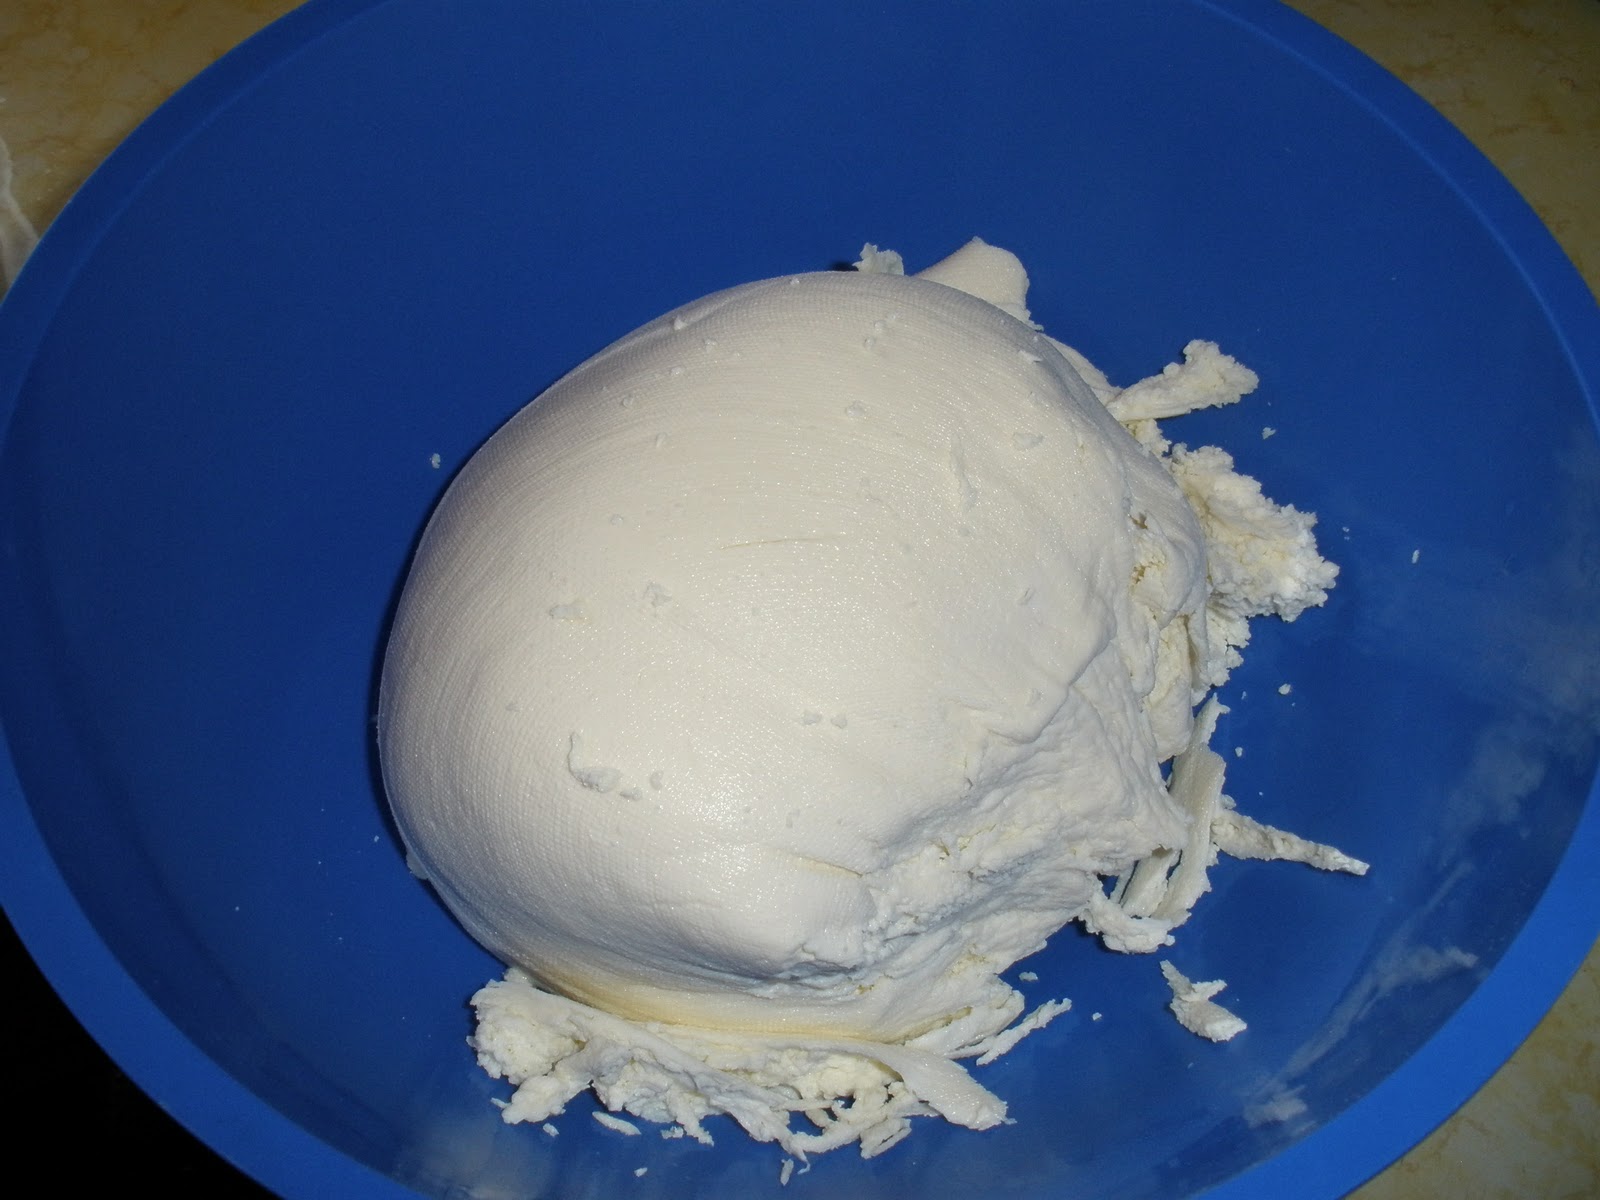
Once it has drained, it will look like this. This is when you add the flavor. You can add, garlic, herbs... whatever. I kept it simple and mixed in 1 1/2 tsp of sea salt. Once mixed in, I put it back into the cheese cloth, but this time in a round mold. I set a bowl with a weight in it on top, to squeeze more liquid out. (Sorry, no picture of this.)
And that's it! Once you've waited as long as you can wait, and as much moisture as you wish is out of it, it's finished. I took some to a dinner party tonight, along with some baguette slices that I made with some of the leftover whey. (It's true, whey makes delicious bread.) I took a quarter slice of my cheese and drizzled some olive oil and served it with a sprinkle of pepper. Pretty gourmet, if I say so myself.
So there you go. Simple fresh cheese. Like the website says, this is a good beginner cheese. I'm happy it was a success and feel more confident to try my hand at the next step on the list. Now what to do with all that whey...


Dude. You are living the life that we have been sitting around and talking about since we had kids. haha! Awesome queso fresco! I also did not know that you got Twin Brooks all the way down there. Cheers! We envy your interurban farm life that you are living. We have the space, just need to find the time! Thanks for the inspiration!
ReplyDeleteNext Step: Greeta Cheese.
ReplyDelete