Showing posts with label The Great Fankhauser. Show all posts

Thursday, January 27, 2011

Gingery Goodness

I was bored this weekend (well, bored from homework...) so I decided to make ginger beer.  For those of you of said to yourselves, "is that the same thing as ginger ale?", no, it's not.  It's BETTER.  (Although some use the terms interchangeably, I think there's a distinction.)  Ginger beer actually tastes like ginger, and has the spicy bite that all ginger flavored things should have.  Now, I realize that I am a little biased when it comes to ginger because I love it so much.  Whenever I make myself ginger tea, I put so much ginger in it, it burns.  I even put cayenne pepper in it if I'm in the mood for two kinds of burn.  mmmm...

Ok, back to ginger beer.  I started to search for an easy make it yourself recipe and I came across a familiar site.  This one!  Yep, it's Dr. Fankhauser, my cheese friend!  I love this guy.  I bet he's really cool, like Clancy.  He explains things so well and makes the most complicated tasks seem easy.  Once I found this website, I was finished searching so I started gratin' my ginger.

I put a gallon of water and a cup and a half of white sugar to boil in my stainless steel pot I bought at Goodwill for 10 bucks.  I think I ended up using about 1/2 cup of grated ginger... I think.  I started with a piece of ginger the size of maybe my palm, but kept adding more and tasting it until I felt there was enough bite.  I also added a couple tablespoons of lemon juice and let it get to a boil.  Then I turned the burner off and let it cool for a couple hours.  Once it cooled down to the point where it was just pleasantly warm, I added 1/2 tsp. of regular baker's yeast that had proofed in a bit of warm water for 10 minutes.  Then I poured the whole mixture into a gallon jug that I found at Goodwill for a buck.  I put some cheese cloth over the opening to catch all the pulp.  Make sure to squeeze out all the juice form the pulp because that's where a lot of the flavor is.  Then I just placed the cap on the jug to make sure nothing got in.  (Don't screw it down, there needs to be room for gas to escape.)  At this point I let it sit overnight at room temp so that the yeast could do its job. 

The next morning, there were bubbles on the walls of the jug (tell-tale signs of happy yeasties feasting on sugar,) and it was ready to bottle.  There was some stuff that had settled on the bottom so I mixed it up a bit.  As for the bottles, I just reused cleaned water bottles that I got from a certain friend who cannot seem to break the habit of buying bottled water.  (Thanks for the bottles! :D)   I filled them up to about an inch from the top, squeezed the air out so the liquid came up to the tip top and screwed the lids on.  I ended up with eight 16oz water bottles filled. 

Then it was waiting time again.  They sat on my dining table for the rest of the day, and spent the hours being harassed by me as I squeeze-checked them every time I walked by.  After several hours, the yeast was clearly working because the air I had initially kept out was replaced and the bottles were feeling pretty bloated.  I opened them several times throughout the day to release the pressure so they wouldn't explode.  I don't think I was supposed to do that, but the bottles weren't that sturdy and I didn't feel like dealing with sugary ginger explosions in my kitchen.

At the end of the day, I tossed them into my 'fridge.  I think they're still fermenting a tiny bit, but cooling them down pretty much stops the process.  And that's it, we've been enjoying them ever since.  Shawn has an addiction to sugary drinks so he loves them, and I love them because they are bottled in used bottles and are probably way better for him than the regular juice he buys.  Oh, and they're delicious.
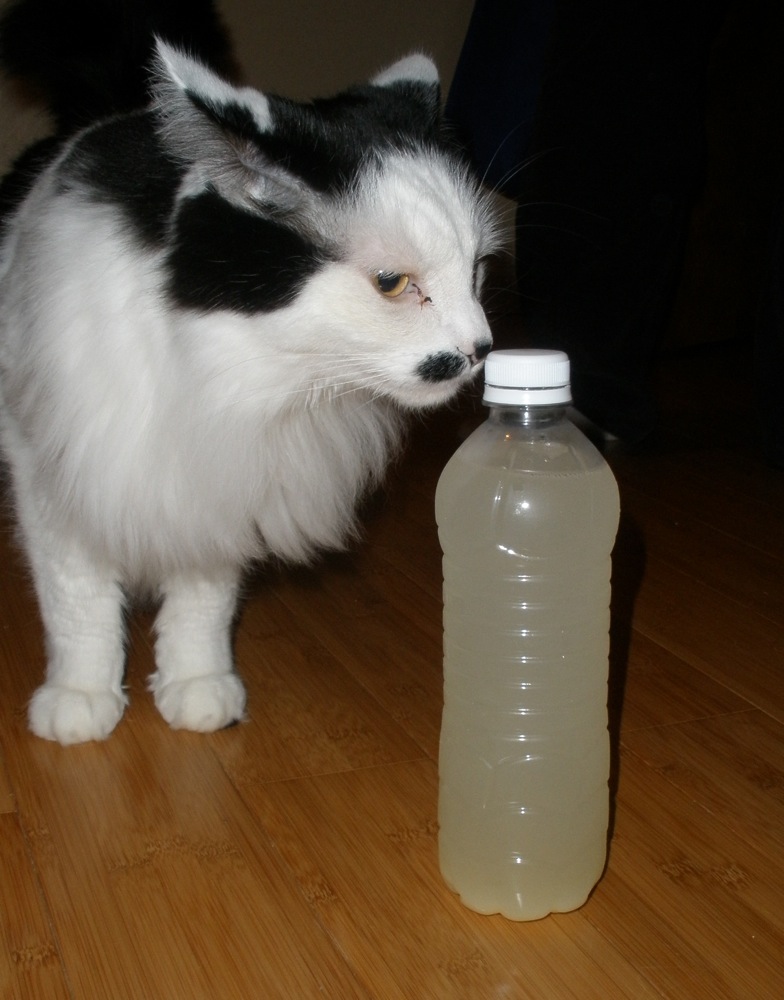
This bottle of ginger beer is made much more interesting by the presence of Nikolai.

Wednesday, December 29, 2010

Everyone Loves Cheese

For my birthday last year, my sister got me a cheese making kit.  I love it, but I was always a little afraid of it.  I had read about cheese making disasters, and I HATE throwing food away, so it caused me to hesitate in trying my hand at it.  However, considering I have the time now, which I know will be limited later, I thought better now than ever.  In addition to reading through the instruction manual that came with my kit, I did some online research.  Of course, I found a ton of stuff, a lot of which was contradicting and confusing.  After some research and several youtube videos, I found that there are a lot of things that are called "cheese" and are all totally different.  The really easy stuff is barely cheese and more like cottage cheese; NOT the cheese that we all love.

After my research I decided to follow this website, because it didn't claim that cheese-making was "super easy" and it also explained things pretty well.  It gives a list of 7 cheeses to try to make from easiest to hardest and overall, looks pretty legit.  The first 2 "cheeses" it says to make are yogurt and labneh, but I decided to go straight to the rennet cheeses, since the other two aren't cheesy enough for me.

Ok, so here goes.  First, the milk.  I got a gallon of Twin Brook Creamery 2% milk (you know, the stuff that comes in those cool glass bottles?), some buttermilk, 1/8 tsp of CaCl, and dissolved 1/4 tablet of rennet in 1/4 cup of water.  I put the milk in a stainless steel pot and slowly heated it to 65 degrees.  Mind you, this doesn't take long since that's just room temp.  Getting it as close to the temp noted is key.  Get yourself a good thermometer.  Next I added the CaCl, then buttermilk, then rennet, stirring well each time in between the additions.  I took it off the heat, and let it sit overnight.

Just a pot of room temp milk.
Now it's really important to let the pot sit overnight undisturbed to let the magic happen.  I have a hard time with this sometimes and get too impatient with my food.  But this time, I was sleeping so it was ok.  Now, for anyone who has put any thought into making cheese and has done any research has definitely heard of the elusive "clean break."  This is when the solids have successfully curded.  Apparently this is hard to achieve and can only be done when all of the conditions are right.  Considering this is my first cheese making attempt, I was prepared for this to give me trouble.  BUT, when I woke up this morning and checked...
Ta daaaaaaa!  Perfection.  I did what I was supposed to do to check by sticking my finger in it at a 45 degree angle and pulled up.  The curds cracked like they are supposed to and the whey that filled in was clear.  Awesome.  This meant I could move on and cut the curds.


This is done by inserting a knife at a 45 degree angle and cutting all the way down to the bottom, making slices about an inch apart.  Turn the pot 90 degrees and do the same 4 times to get all sides.  Hopefully the picture helps to explain what I'm talking about.
 Now, take a piece of cheese cloth big enough to be able to fold it a couple times.  I used a piece that was big enough to fold twice in order to have a stack of 4 layers.  Lay the cloth in a colander over a bowl and ladle the curds into the cloth.  There were a lot more curds than I though there would be, so I had to do a lot of hand squeezing in order to get it all into my cheese cloth. 
Next, rig up some device that you'll be able to hang your cheese on.  Make sure there is a bowl underneath to catch the whey.  (Save the whey, there are a lot of things you can do with it.  It's apparently full of protein.)  This should hang for 12 hours.  (Or less if you're impatient like me and keep squeezing it every time you walk by.)  If you are going to wait, probably a good idea to keep it in the fridge for the 12 hours.

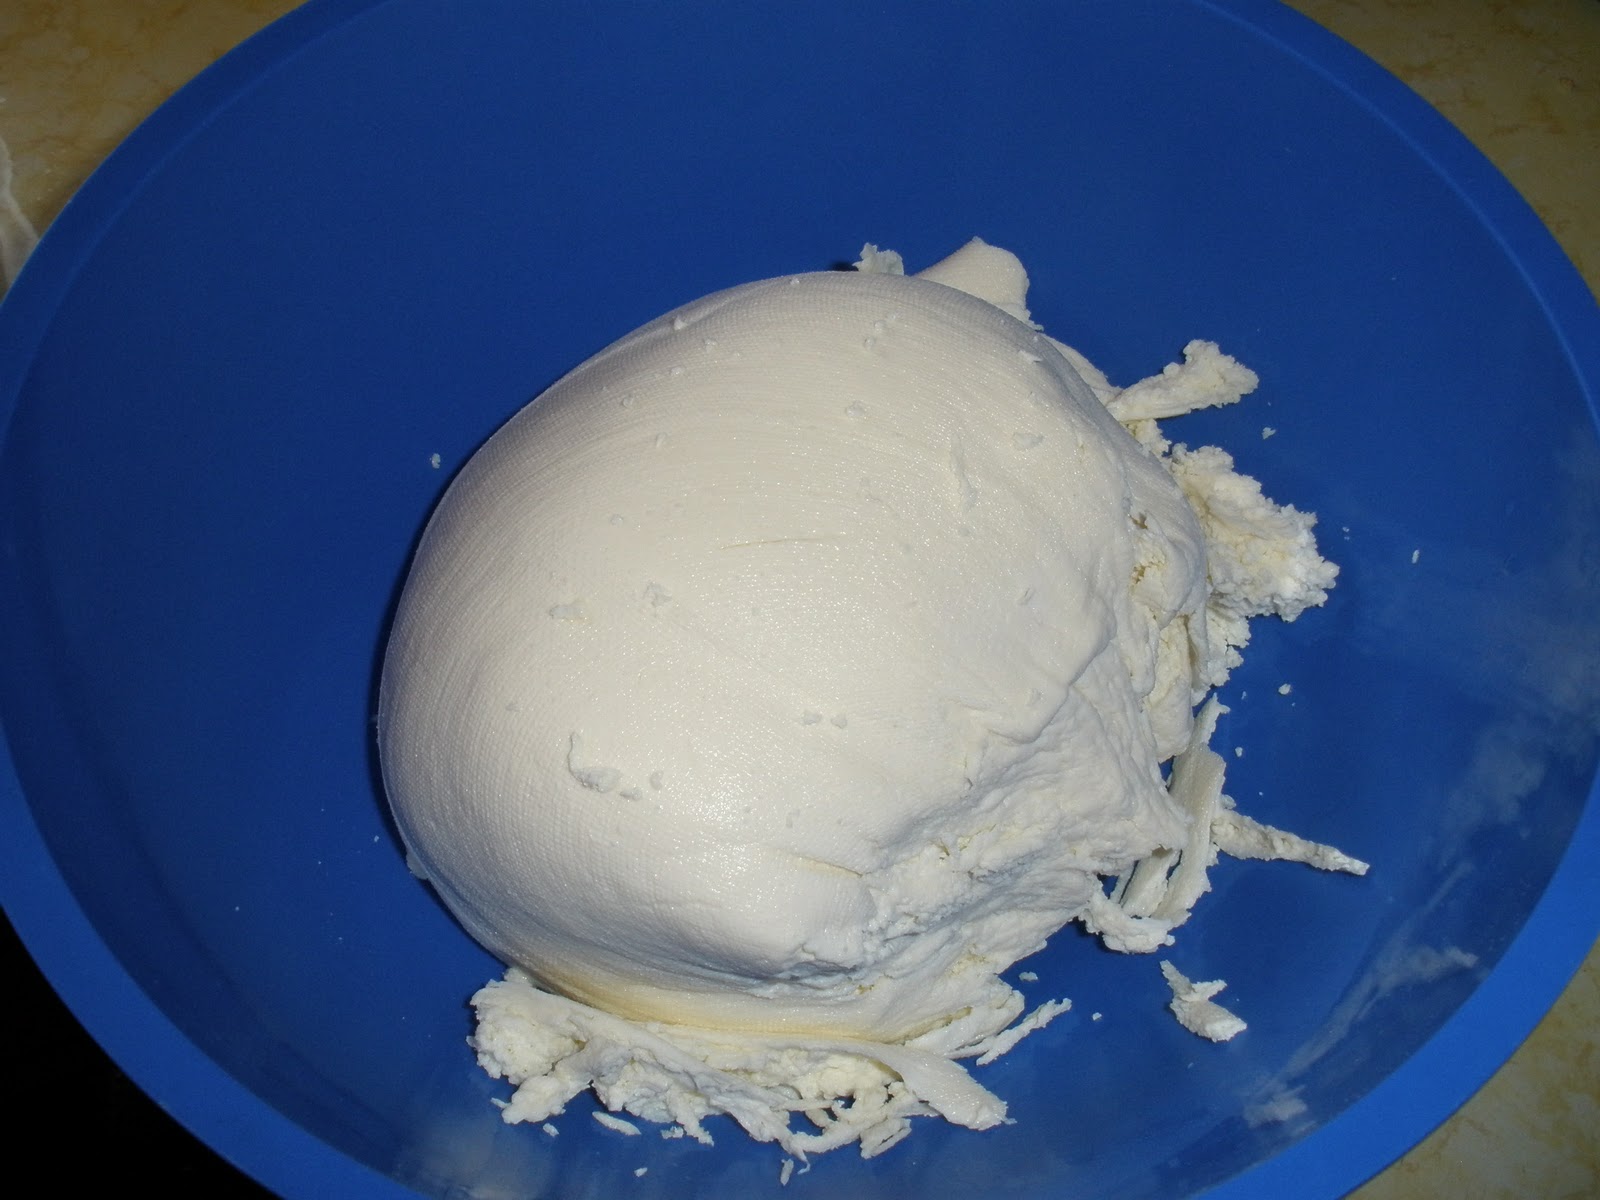
Once it has drained, it will look like this.  This is when you add the flavor.  You can add, garlic, herbs... whatever.  I kept it simple and mixed in 1 1/2 tsp of sea salt.  Once mixed in, I put it back into the cheese cloth, but this time in a round mold.  I set a bowl with a weight in it on top, to squeeze more liquid out.  (Sorry, no picture of this.)

And that's it!  Once you've waited as long as you can wait, and as much moisture as you wish is out of it, it's finished.  I took some to a dinner party tonight, along with some baguette slices that I made with some of the leftover whey.  (It's true, whey makes delicious bread.)  I took a quarter slice of my cheese and drizzled some olive oil and served it with a sprinkle of pepper.  Pretty gourmet, if I say so myself. 

So there you go.  Simple fresh cheese.  Like the website says, this is a good beginner cheese.  I'm happy it was a success and feel more confident to try my hand at the next step on the list.  Now what to do with all that whey...
Related Posts Plugin for WordPress, Blogger...